使用Docker安装配置OpenResty
一、前言
OpenResty是一个基于 Nginx 与 Lua 的开源高性能 Web 平台,OpenResty团队为Nginx开发了Lua模块,使得开发者/运维可以使用Lua为OpenResty开发扩展,或者为Nginx定制功能,另外OpenResty团队也内置了很多Lua扩展(JWT、MySQL、Redis等),可以通过OpenResty高效率的开发高性能Web服务
1、本文主要内容
- 使用Docker安装OpenResty并映射配置和日志
- 使用OpenResty配置HTTP代理
- 使用OpenResty+Lua响应HTTP请求
- 常用OpenResty命令介绍
2、本文环境信息
| 工具/环境 | 版本说明 | 适用版本 |
|---|---|---|
| OS | macOS 15.7 | *(macOS/Windows/Linux) |
| Docker | Docker CE 28.1.1 | *(默认所有Docker版本可用) |
| OpenResty | 1.27.1.2 | 1.17+ |
3、前置准备
1、Docker环境安装与基本使用
https://ken.io/note/docker-install-and-quickstart
2、如果使用的Windows使用 CMD/PowerShell 作为命令行工具
二、OpenResty安装
1、准备配置
准备openresty目录、自定义配置目录、日志目录
# 创建openresty目录(macOS/Linux/WSL/GitBash)
mkdir ~/openresty && cd ~/openresty
# 如何使用Windows且没有使用Git Bash/WSL可以使用以下命令
mkdir C:\openresty
cd C:\openresty

# 创建配置目录
mkdir conf

# 创建日志目录
mkdir logs
创建默认配置文件nginx.conf
worker_processes  1;
error_log  logs/error.log  notice;
pid        logs/nginx.pid;

events {
    worker_connections 1024;
}

http {
    include       mime.types;
    default_type  application/octet-stream;

    sendfile        on;
    keepalive_timeout  65;

    # 引入自定义配置目录
    include /usr/local/openresty/conf.d/*.conf;

    server {
        listen 80;
        server_name localhost;
        location / {
            root   html;
            index  index.html index.htm;
        }
    }

    server {
        listen 81;
        server_name localhost;
        location / {
            return 200 "Welcome to OpenResty via Docker!\n --- https://ken.io\n";
            default_type text/plain;
        }
    }
}
2、安装OpenResty
使用 docker 创建并启动 openresty 容器,映射好已在本地准备好的配置文件、日志等等,并预先绑定好 80 及多个端口号:8001、8002、8003、8888,供后面测试使用
# 以下命令注意一定要在~/openresty目录执行
# Linux/macOS
docker run -d \
 --name  openresty-quickstart \
 -p 80:80 -p 81:81 -p 8001:8001 -p 8002:8002 -p 8003:8003 -p 8888:8888\
 -v ./nginx.conf:/usr/local/openresty/nginx/conf/nginx.conf \
 -v ./conf/:/usr/local/openresty/conf.d \
 -v ./logs:/usr/local/openresty/nginx/logs \
openresty/openresty:1.27.1.2-centos

# Windows(CMD)
docker run -d ^
  --name openresty-quickstart ^
  -p 80:80 -p 81:81 -p 8001:8001 -p 8002:8002 -p 8003:8003 -p 8888:8888 ^
  -v %cd%\nginx.conf:/usr/local/openresty/nginx/conf/nginx.conf:ro ^
  -v %cd%\conf:/usr/local/openresty/conf.d:ro ^
  -v %cd%\logs:/usr/local/openresty/nginx/logs ^
  openresty/openresty:1.27.1.2-centos

# Windows(PowerShell)
docker run -d `
  --name openresty-quickstart `
  -p 80:80 -p 81:81 -p 8001:8001 -p 8002:8002 -p 8003:8003 -p 8888:8888 `
  -v "${PWD}\nginx.conf:/usr/local/openresty/nginx/conf/nginx.conf:ro" `
  -v "${PWD}\conf:/usr/local/openresty/conf.d:ro" `
  -v "${PWD}\logs:/usr/local/openresty/nginx/logs" `
  openresty/openresty:1.27.1.2-centos
3、访问测试
命令行访问
# curl访问测试
curl localhost:80 --head | grep Server
  % Total    % Received % Xferd  Average Speed   Time    Time     Time  Current
                                 Dload  Upload   Total   Spent    Left  Speed
  0  125k    0     0    0     0      0      0 --:--:-- --:--:-- --:--:--     0
Server: openresty/1.27.1.2
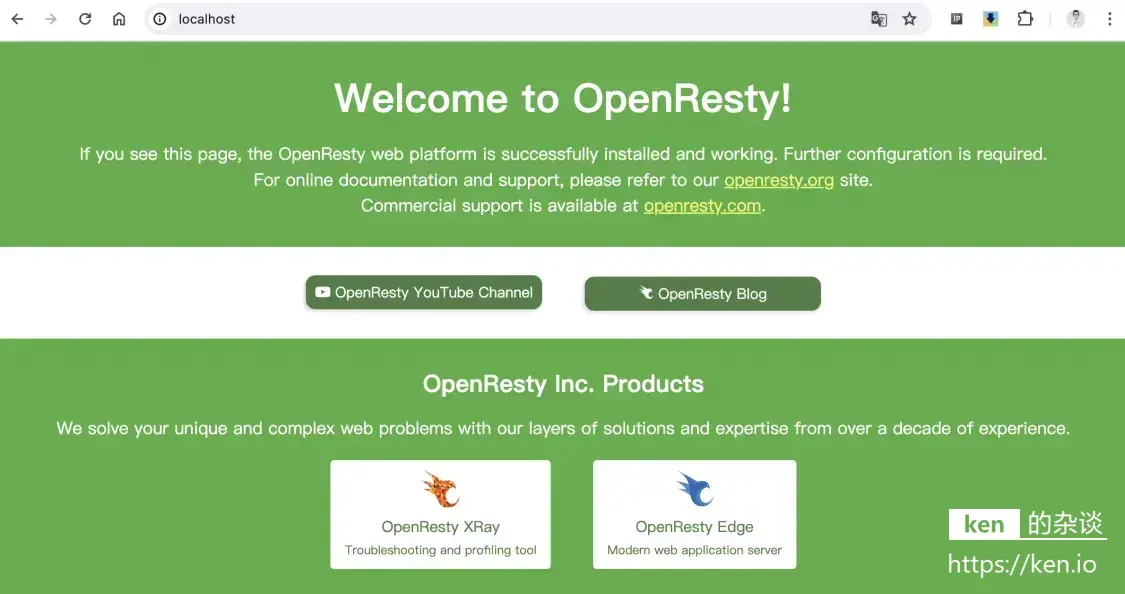
浏览器访问:localhost
三、OpenResty配置
前面通过Docker部署的OpenResty,已经将nginx.conf映射到~/openresty/nginx.conf,也把~/openresty/conf目录映射为自定义配置目录
1、基本转发配置
跟Nginx反向代理配置方式一致
#1、新建/修改配置文件
vi ~/openresty/conf/ken.conf

#2、配置内容
server {
    listen       80;        #监听80端口
    server_name  test.local.ken.io; #监听的域名
    location / {            #转发或处理
        proxy_pass https://ken.io;
    }
}
重载配置
docker exec -it openresty-quickstart nginx -s reload
修改hosts
# 修改hosts配置(Linux/macOS/WSL命令)
sudo vi /etc/hosts
# Windows CMD命令需要手动修改,路径:C:\Windows\System32\drivers\etc\hosts

# 增加配置
127.0.0.1 test.local.ken.io
使用curl命令或者浏览器进行访问测试
curl test.local.ken.io
3、使用Lua响应请求
监听8888端口,使用OpenResty内置的Lua函数响应请求,输出:Hello,{name}
#1、新建/修改配置文件
vi ~/openresty/conf/hello.conf

#2、配置内容
server {
    listen 8888;

    location / {
        default_type 'text/plain';
        content_by_lua_block {
            local args = ngx.req.get_uri_args()
            local name = args["name"]
            ngx.header["X-Header"] = "ken.io"
            if name then
                ngx.say("Hello, " .. name)
            else
                ngx.say("Hello, OpenResty!")
            end
        }
    }
}

#3、重载配置
docker exec -it openresty-quickstart nginx -s reload
使用curl命令或者浏览器进行访问测试
curl -i http://localhost:8888
curl -i http://localhost:8888?name=Ken

# 输出示例
HTTP/1.1 200 OK
Server: openresty/1.25.3.1
Content-Type: text/plain
Transfer-Encoding: chunked
Connection: keep-alive
X-Header: ken.io

Hello, OpenResty!

四、备注
1、OpenResty常用命令
由于是在Docker环境下部署,因此需要以docker exec -it openresty-quickstart为前缀
# 启动 OpenResty 主进程
openresty

# 停止 OpenResty
openresty -s stop

# 优雅地关闭 OpenResty
openresty -s quit

# 重载 OpenResty 配置文件
openresty -s reload

# 重新打开日志文件
openresty -s reopen

# 显示 OpenResty 的版本信息
openresty -v

# 指定 OpenResty 工作目录
openresty -p /path/to/work_dir

# 使用指定的配置文件启动 OpenResty
openresty -c /path/to/nginx.conf